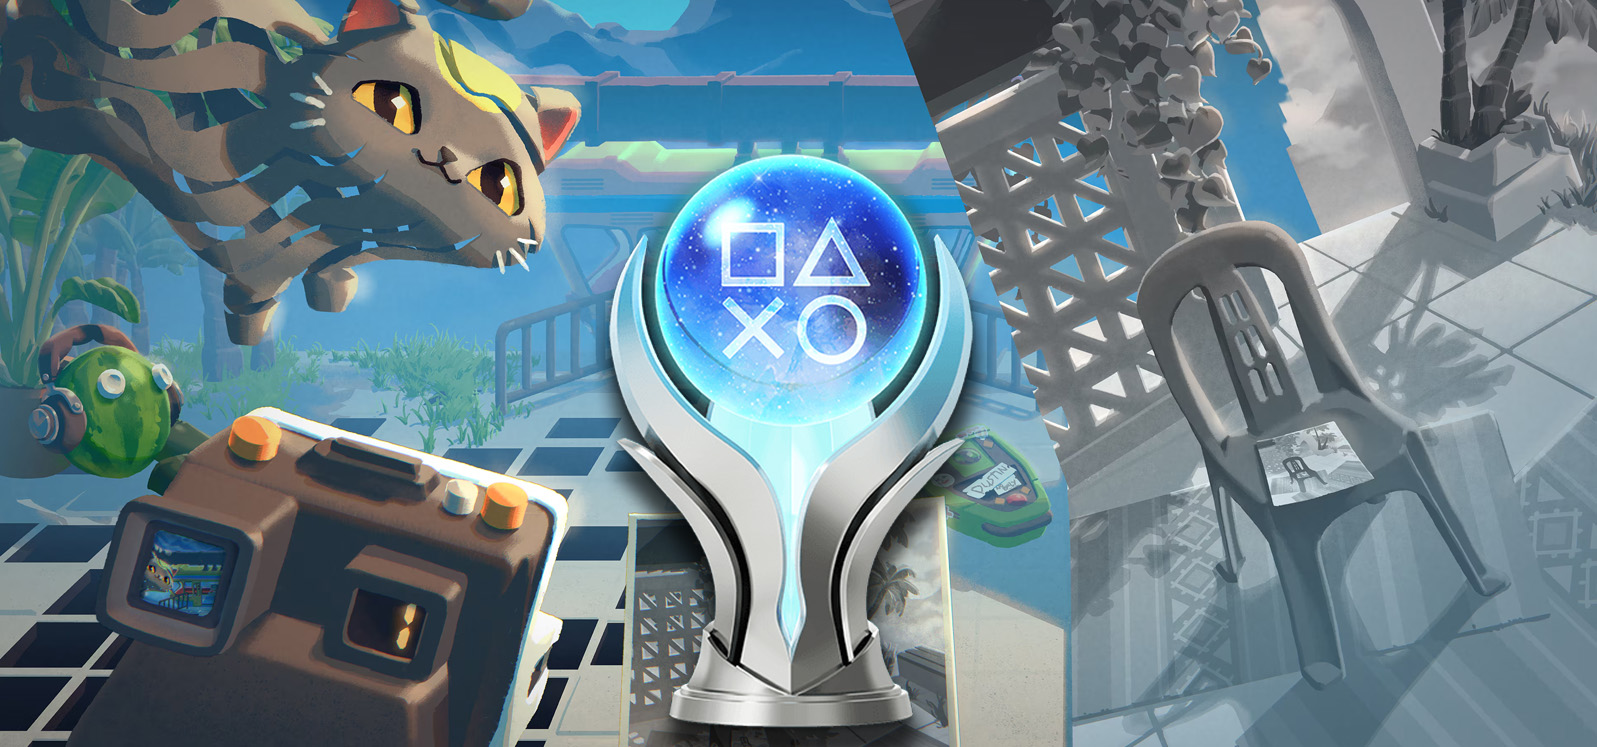
Viewfinder

Trophy Guide & Roadmap

If you prefer to watch a video instead of reading the guide, feel free to do so. There is a playlist that covers every trophy on my YouTube channel. If you'd like and subscribe or even become a member, it would mean a lot to this channel!

Chapter 1 - Aharon

Time traveller
Rewind for a really long time
We get introduced to the Rewind feature during level 1-1 in Chapter 1, after falling through a bridge. Just stay down there and wait for 2 minutes before using Rewind to unlock this trophy.
Bye bye, Battery!
Drop a battery off the level
Chapter 1 Level 1-2
This can be combined with Caught in the act!.
Caught in the act!
Place a photo while falling and land on it
Chapter 1 Level 1-2
Pick up the photo and aim below you. Now walk off an edge and wait until "You're falling!" appears on screen, before placing the photo. Doing this should also result in a battery falling out of the frame thus unlocking Bye bye, Battery!.
Battered by a battery
Drop a battery onto your head
Chapter 1 Level 1-2
This can be done in other levels as well. However we need to place two batteries in a target area. Instead of just dropping it in there, we can aim above our head and drop it from there. It should hit us on its way down to unlock the trophy.
Contactless
Complete the third level without touching the battery
Chapter 1 Level 1-3
To get through this level we need to drop a battery out of a photo. Position yourself so that the battery drops directly into the target area. The trophy should pop as soon as you use the teleporter.
Welcome Back!
Return to the hub world
Story-related. Unlocks automatically.
No way out!
Break the only teleporter
Chapter 1 Level 2-3
Once we're back in the hub world, we just need to place the photo in front of the teleporter to cover it. When you see a yellow warning in the top right corner you did it correctly. Sometimes we not to redo this process for the trophy to unlock.
Recursion excursion
Place the recursive photo 15 times
Chapter 1 Level 2-3
. Place the photo of this level 15 times to unlock this one.
Everything in its right place
Put the three paintings where they belong
Chapter 1 Level 3-1
. Next to the copy machine is a table with 3 photos on it (some boxes, a street lamp and a flower). Use them to replace the shown objects in this level.
Get your ducks in a row
Find all the ducks in chapter 1
There are 4 rubber ducks we need to pick up during chapter 1. They can be found in the following levels:
  • Level 2-1 - After placing the second photo near the solar panels
  • Level 2-3 - Hard to miss, it's sitting across from the only photo of the level
  • Level 3-2 - Hard to miss as well, it's on your left side on the way to the copy machine
  • Level 4-1 - At the end of the short labyrinth. It can be accessed from the table with the chair in front of it.
I've trained for this.
Ride the train
Story-related. Unlocks automatically.

Chapter 2 - Hiraya

I fold
Put down both playing cards
Chapter 2 Level 1-3
On the table near the starting point we can pick up two playing cards. Just place them anywhere vertically to unlock the trophy.
Pet the Cait
Pet Cait
The first time we can pet Cait is in Chapter 2 Level 2-1. He is sitting on the bench near the first camera. Just wait for him to finish talking and press to pet him.
Michelangelo
Carve the melon repeatedly
Chapter 2 Level 2-1
The melon is sitting right next to Cait. We need to place three photos on it so that it gets carved everytime.
I bee-t the game!
Grow the flower to attract a bee
Chapter 2 Level 2-3
On the right side we can find a Tomodatchi on a table. Pick it up and place it anywhere to be able to interact with it. Now press the buttons from left to right until the bee appears. It's recommended to let every animation play out before pressing the next button.
Fool me twice
Get tricked twice in a certain level
Chapter 2 Level 3-1
We need to fail this level twice. Before solving the puzzle, the battery must fall through the hole. Rewind and then place the photo from the clothesline right over the hole. Our goal is that the falling battery crushes the one we place there to fail for a second time.
I stuck with it.
Find all the magnets in chapter 2
There are 4 magnet we need to pick up during chapter 2. They can be found in the following levels:
  • Level 1-2 - On a sofa to the right side of the desk with the photo you can find the banana magnet.
  • Level 2-2 - Head down the stairs before picking up the battery to find the orange magnet on a table.
  • Level 3-2 - The mango magnet is on a table on your right side from the starting point. Make sure to pick it up before placing a photo there.
  • Level 4-1 - Walk up a short flight of stairs on the right side to find the apple magnet.

Chapter 3 - Chi Leung

Viewfinder
Get the camera
Chapter 3, Level 1-1
Story-related. Unlocks automatically.
No copycaits!
Try duplicating Cait
Chapter 3, Level 1-1
Right after picking up the camera, Cait starts talking. Wait for a bit until he appears right where you picked up the camera. Take a photo of him to unlock this trophy.
Battery of Batteries
Make the maximum possible number of batteries in the first camera level
Chapter 3, Level 1-1
When we reach the teleporter, we have to take a photo of the battery to duplicate it. Doing this once is enough to finish the level. However, to unlock this trophy we need to keep duplicating all the batteries until we have 32 of them lying in front of us.
Nope bridge
Break the cartoon rope bridge
Chapter 3, Level 2-2
From the start, we need to take a photo of the section to our left. Our goal is to reach the higher area where the phone is ringing. Up there we have to collect the photo from the tv screen and place it anywhere. Make a photo of something else and place it to cut the bridge in half.
Dustinvasion!
Make an army of Dustins
Chapter 3, Level 2-3
Walk along the path next to the stairs. On the right side we'll find a Dustin, basically a floating vacuum cleaner. Make a photo of it and duplicate Dustins until the trophy pops. It's pretty similar to Battery of Batteries.
Dustin? More like Dust-off!
Drop a Dustin off the level
Chapter 3, Level 2-3
After unlocking Dustinvasion!, there are enough Dustins to get this trophy done as well. Pick one of them up and drop them off an edge into the abyss.
You monster
Slice a Dustin
Chapter 3, Level 2-3
After unlocking Dustinvasion! we need to make any photo and place it to cut one of the Dustins in half. Pretty similar to what we did with the melon and the cartoon bridge.
Amateur Photographer
Take 25 photos
This happens naturally while playing through the game. Restarting a level or rewinding it, doesn't reset the counter.
Speed Demon
Beat a level in less than 10 seconds!
Chapter 3, Level 2-4
Quickly look above you, take a photo of the teleporter and place it below you to drop right next to the teleporter and finish the level.
To reach new heights!
Get the jump powerup
Chapter 3, Level 2-5
Unlocks automatically on our way to Low Orbit.
Low orbit
Get multiple jump powerups
Chapter 3, Level 2-5
In this level we come across a pillar with a battery on top of it. Before reaching it, we can turn right to find a table with photos on it. Take the one with a square and a flame (that's the powerup) on it. Place it somewhere and duplicate it twice. The third one should be accessible from where we are at this moment. Collect the first powerup to unlock To reach new heights! and use that jump boost to collect the other two powerups.
Hitching a ride
Ride a balloon
Chapter 3, Level 3-1
After getting rid of the gate that blocks our path, we can walk all the way to a bulletin board with a Happy Birthday card on it. Pick it up and place it somewhere below you. The balloons should start floating upwards. Walk onto one of them and stay there until the trophy pops.
Liberate the Dustins!
Release all the blueprint Dustins
Chapter 3, Level 5-3
From our starting point we can walk to the left and pick up three blueprints from a table. Place them somewhere you like but make sure all three Dustin can move out of their blueprints.
That's something I can get behind!
Get behind the waterfall
Chapter 3, Level 5-3
Take a photo of the balcony and place it somewhere so you can access it. On there you'll find a little pixelated map. Place it below you to drop onto it and walk behind the waterfall.
Impeccable timing
Complete a timer level with only a fraction of a second to spare
The first opportunity for this is in Chapter 3, Level 5-3. It's the first level where we have to place a teleporter with its timer in front of us. That means we can see exactly when the teleporter is about to shut down again. To unlock this trophy we have to wait until there is only one time unit left on the timer before we use the teleporter. Other opportunities appear in Chapter 4, Levels 6-4, 6-5, 6-6 and Chapter 5, Level 3-2.
Picking up the pieces
Find all the mahjong tiles in chapter 3
This chapter features 7 mahjong tiles we need to pick up. They can be found in the following levels:
  • Level 1-1 - Turn around at the start and pick it up from the desk.
  • Level 2-4 - There is pixelated map on the table. Pick it up and place it below you off of an edge. Drop onto it and collect the tile from the far right corner.
  • Level 3-2 - On a bench on the right side of the teleporter.
  • Level 4-2 - On a shelf near the desk with a white chair, directly behind the brick wall of the teleporter.
  • Level 5-1 - From the start walk left to find it on a workout mat.
  • Level 5-3 - To the left of the waterfall we need to get behind for That's something I can get behind!.
  • Level 5-5 - Near the start, pick up the Stonehenge postcard and place it somewhere. Climb on top of stonehenge to collect this tile.
Under the illusion
Complete the illusion levels in chapter 3
Story-related. Unlocks automatically.

Chapter 4 - Mirren

Scream Orchestra
Make a choir of screaming people
Chapter 4, Level 6-2
Just walk over to the other side and down some stairs to find "The Scream" on the wall next to a cat tree. Pick it up, place it somewehere and start duplicating it. We need to put 6 of them next to each other.
Professional Photographer
Take 100 Photos
This trophy should come naturally if you're playing without a video guide, because level restarts and rewinds don't reset the counter of taken photos for a level. However, if it doesn't until the final level of chapter 5, we can farm it there. It allows us to take 10 photos on every try. Just take all 10 at the start and rewind or restart the level and repeat taking photos.
Green is not a creative colour
Draw using the green pencil
Chapter 4, Level 6-6
Turn around at the start to find a picture with a Microsoft Paint-ish interface. Place it anywhere and select the green pencil by pressing . With the correct pencil select hold , to paint on the canvas.
I didn't planets for this to happen.
Find all the planets in chapter 4
This chapter features 9 small planets we need to pick up. They can be found in the following levels:
  • Level 1-1 - Mars - When we load into the level, go straight up a small set of stairs and spot the planet on the wall next to the telescope.
  • Level 2-2 - Neptune - At the start, we turn around and climb the stairs to the right of the Teleporter. We find a Mondrian painting near the gramophone upstairs, pick it up, and place it below to fall in. In the black square room, we find the planet on a shelf.
  • Level 2-4 - Pluto - Turn around from the start and head down to the area with the orange couch and bean bags, where the planet sits on a round table near the couch.
  • Level 3-1 - Venus - Turn around at the beginning, the planet is on the wall just next to the street lamp.
  • Level 6-4 - Jupiter - In front of the Teleporter, we find a small map on a bench to the left. We use this map to pick up a blue castle icon, place it upright, and enter the model. The planet is on a table to the left inside the castle.
  • Level 6-6 - Saturn - As the level loads, we look behind the desk in front and to the right, finding the planet on the shelves behind.
  • Level 5-1 - Earth - At the start, we pick up a photo on the table to the left of the Teleporter and use it to create a ramp leading to a hidden area below, where we collect the planet.
  • Level 8-1 - Mercury - To the left of the exit Teleporter, in a small closed area, the planet is on a rolling tray next to a blue coffee cup.
  • Level 7-3 - Uranus - We go left down a small set of stairs onto an outside pathway that wraps around. We follow the path up some stairs to a table near a telescope, where the planet waits.
I've had my fil(ter)
Complete the picture frame levels in chapter 4
Chapter 4, Level 7-4
Story-related, pops at the end of the puzzle.
I didn't realise they were optional.
Complete all the optional challenge levels
Chapter 4, Level 9-1
Story-related, pops at the end of the puzzle.
End of the line.
Ride the train to the final hub world
Chapter 4, Level 9-1
Story-related, pops when we use the train to get to hub #5.

Chapter 5

Bark code
Go for a walk in the barcode forest
Chapter 5, Level 1-2
Turn around and walk down a set of stairs to find the barcode on a table. We need to place it somewhere in the world so that we can walk through the bars that are lined up like treed.
Breaking wind
Break the windmill inside the painting
Chapter 5, Level 2-3
Walk down some stairs on your right side to find a picture of windmills next to a copy machine. Place the picture in front of you and take a photo of the top of the windmill.
Full shutdown
Complete the simulation shutdown sequence
Story-related. Unlocks automatically after the final level.
Hashtag all filters
Collect all the camera filters
Story-related. Unlocks automatically shortly after the final scenes.
Viewfound
Unlock all trophies in Viewfinder