If you prefer to watch videos instead of reading the guide, feel free to do so. There is a playlist that covers
every trophy on my YouTube channel. If you'd like and subscribe or even become a member, it would mean a lot to
this channel!
Step 1 - Act I
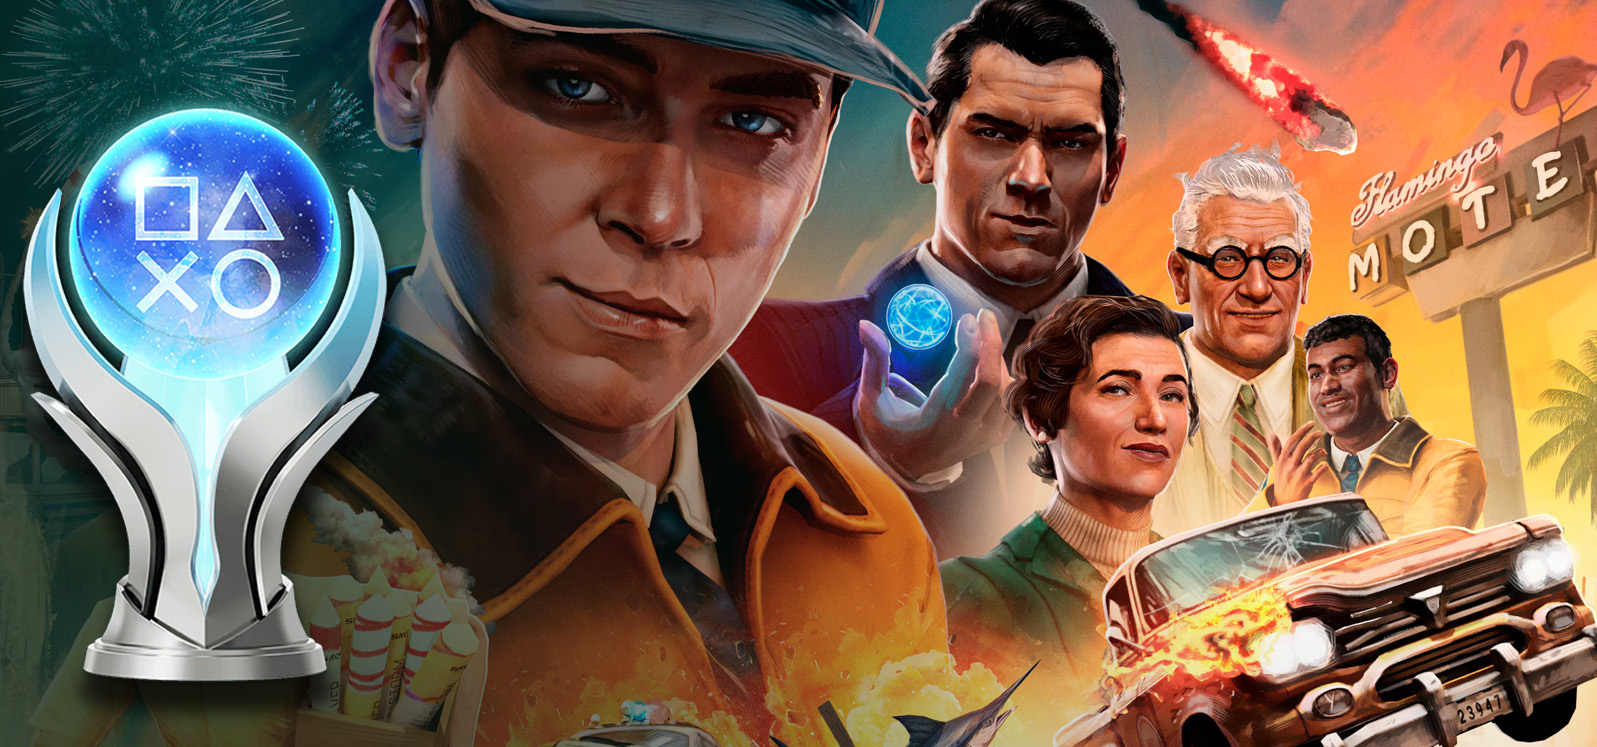
The first act teaches us the basic controls of the game and offers a nice amount of cool missions. Some of
them have trophies where we have to play or finish missions in a certain way. Those trophies are listed in
this section as well as some miscelleanous ones. Just enjoy the game with its wild, chaotic gameplay and
mission design. There is nothing too hard to worry about :)
Melon Melancholy
Drop enough melons from the car to fail within 10 seconds of starting "Always
Refreshing."
Act I - Chapter 1 - Mission 2. To begin the mission after talking to our client, we
need to push a big box of melons onto our truck. The timer for this trophy starts as soon as we get
behind the whell of the truck. Drive immediately in circles and/or jump down the stairs to lose the
melons quickly. In case you fail the mission and don't get the trophy, don't worry, for the next trophy
we need to this once more.
Major Melon Misfortune
Drop 100 melons from the car in "Always Refreshing."
Act I - Chapter 1 - Mission 2. Depending on how many melons made it out of the box
onto the truck you should have dropped somewhere around 40-50 melons while attempting Melon
Melancholy. Do the same stuffagain or drop the melons doing something else.
Melon Juggling Master
Drop no more than 20 melons in "Always Refreshing."
Act I - Chapter 1 - Mission 2. This is mutually exclusive with the two above, which
means we have to finish the mission once after unlocking Melon Melancholy and Major Melon
Misfortune before attempting this. As soon as chapter 1 has concluded, we have to upgrade our
truck and get back to "We Deliver". Once we leave their building again, we have the opportunity to
replay previously completed missions. Select "Always Refreshing" and drive very slow through turn and
downhill. In addition to that it's recommended to not hit pedestrians during this attempt, because they
sometimes want payback and can mess up a clean run.
Fresh Outta The Gate
Finish the first chapter of the game.
Pops automatically when our first day as delivery man ends.
Blue Beast Ballistics
Free the marlin in "Fishing For Love."
Act I - Chapter 2 - Mission 1. Pick up the marlin with your crane during the first
mission of
chapter 2 and drop it in the water near you.
Crate Expectations 1
Collect 10 money crates.
Crates are scattered all around the map. To collect one, we need to kick it or drive
right through it.
Duct Tape Engineer
Repair your pickup's wheels 48 times.
Act I - Chapter 3 - Mission 1. We have to deliver a seismograph up on a volcano. On
the way there we have to deal with a lot of falling rocks. This is the perfect spot to farm blown tires.
Divebomb Delivery
Explode your pickup by falling onto a surface in a drivable area.
There are multiple spots where you can attempt this. During Act I - Chapter 3 -
Mission 1 we have to make our way to the top of Mt. Calahan. On the way back down we can jump off some
of the cliffs and land on a driveable part of the road below. The truck should crash automatically when
it hits the ground, given that it's already burning at this point.
Bumper Blunder
Lose 100 car parts due to damage.
Losing 100 car parts happens automatically due to the chaotic nature of the game.
Just play through the story and the trophy should pop during Act I or early in Act II.
Box Office Hit
Stack 7 crates in "Fire Sale."
Act I - Chapter 4 - Mission 2. During "Fire Sale" a plane drops multiple crates we
need to return to Johnny. The mission consists of three section. In the first one we need to return 4
boxes within 3:30 minutes. Keep collecting falling crates until you have seven in your truck bed, before
driving back to Johnny. Avoid crashes of any sort while attempting this to minimize the danger of
dropping some crates. It is possible to collect seven crates at once in the remaining sections as well,
but the time limit isn't as forgiving.
Flawless Victory
Finish "Fire Sale" without failing.
Act I - Chapter 4 - Mission 2. Like stated above, "Fire Sale" consists of three
sections. In the first one we need to return 4 crates, 5 in the second and 6 in the third. We just need
to return the required crates in time without failing a time limit to unlock the trophy. Dropping crates
is no problem.
Crate Expectations 2
Collect 50 money crates.
Crates are scattered all around the map. To collect one, we need to kick it or drive
right through it.
Scallywag
Find 10 hidden chests.
Hidden chests reward us with parts we can use to assemble certain truck features
from collected blueprints. They are hidden a lot better than money crates but still not too hard to
find. If you have any trouble finding them, it is recommended to collect 200 money crates first to
finish an encounter in the southeast corner of the map. Doing so reveals all locations of hidden chests.
Meatbag Maneuvering
Shove civilians 100 times.
Can be done at any time. But shoving the mayor until the trophy pops is the fastest
method because he doesn't run off or fight back. He just stands up and moves back to his previous
position. He can be found on top of the city hall St. Monique. You'll get there eventually if you want
to collect all blueprints.
Ruthless Competition
Destroy all competitor vehicles in "Just in Time."
Act I - Chapter 5 - Mission 1. Before attempting this it is highly recommended to
assemble Spiked Wheels. We get the blueprint for those after winning the race down Mt. Calahan against a
guy with a parachute. With these wheels attached to our truck, we can wreck the competition by driving
on their sides and blowing their tires. Keep an eye on the minimap, a wrecked enemy is displayed with a
little flame symbol on their truck. To earn the trophy we need to wreck every blue truck, not just the
ones with the crates.
A Warm Farewell
Let the timer run out after meeting Norman in "Ashes of Calahan."
Act I - Chapter 5 - Mission 2. The mission starts with a timer. We have to drive all
the way to Mt. Calahan where we'll eventually find Norman. After the short dialogue we need to wait
until the timer runs out to pop this trophy.
Under The Wire
Finish a timed mission with less than a second left.
Act I - Chapter 5 - Mission 2 is pretty good for this. At the end of the mission we
need to reach the Golden Gate Bridge in time to progress the story. To get this trophy, try to time your
finish as close to 0:00 as possible. It may take some attempts but as long as you fail to reach the
finish within time, you'll respawn before the traffic jam with 2:00 on the clock.
Out Of The Frying Pan...
Finish the first act of the game.
Story-related, pops automatically after the conclusion of chapter 5.
Step 2 - Act 2
At the beginning of the second act, we move to a new area which means we can find even more money crates and
parts chests. This act also consists of 5 chapters.
Pop Goes The Tire
Pop 24 tires in "Micro Madness."
Act II - Chapter 1 - Mission 1. During our very first mission we have to control RC
cars. To pop a tire of a real car, we just need to drive into it. So, we need to dismantle at least 6
cars completely. You don't have to pop all 24 tires with the same RC car.
Crate Expectations 3
Collect 100 money crates.
Crates are scattered all around the map. To collect one, we need to kick it or drive
right through it. There are 1.000 in the entire game, so you're probably going to reach 100 without any
problems.
Do-Good Delivery Driver
Complete 4 encounters.
Encounters are displayed on the map as green "
?". Some require us to find
something or someone special, some are races and some are little missions like driving a specific car
into a volcano. The important encounters are those that give us blueprints we need for
Gadget
Gandhi (see list below), but for this trophy we only need to do 4 of them.
- Mr. Palmer & The Giant Worms (The Steps)
- Race Down The Mountain (Mt. Calahan)
- The Mayor's Doppelganger (St. Monique City)
- Dirt Devils (The Crossroads)
- The Lost Mascot (Port Belle)
- Bubbles & The Ghost Car (Pacifica Boardwalk)
- Cash & Burn (Old Monique, Optional but recommended)
- The Search for the Sombrero (The Steps, Optional)
- Save Mother Nature (Old Monique, Optional)
- Bringing Back the Tunes (Reefside, Optional)
Blame The World
Kick 100 objects.
We can kick objects by pressing L1. There is a dry swimming pool in Emerald Grove
with a lot
of different balls in and around it. They don't break and if you manage to kick them against one of the
pool walls they stay near you which makes the pool a good spot in case you want to farm them.
Bullseye Bailout
Complete "Operation: Out of Bounds" without failing.
Act II - Chapter 3 - Mission 1. This trophy requires a lot of patience. As soon as
the bomb starts malfunctioning from Emerald Grove on, we are not allowed to touch anything. No
pedestrians, no other cars and not even fences or street lights. The final part in Tipbend Ridge is the
only really stressful part, because the bomb detonates after a 20-second countdown, so we have to be
quick.
Self-Destruction Derby
Wreck your pickup with the parcel in "Momentum of History."
Act II - Chapter 4 - Mission 1. The parcel is a big ball shaped bunker. We just need
to keep driving into it, until our truck explodes.
Trailblazer
Light a trail of fire at least 1.6 km long in "Inferno Express."
Act II - Chapter 5 - Mission 1. During this mission we have to go to Emerald Grove
and use a pump at different houses. After successfully using the pump at the first house, we start to
create a trail of fire. Creating one of 1.6km takes about 2 minutes. The best strategy is to drive in
long serpentine lines thorugh the entire area.
Future In Your Hands
Acquire the mysterious artifact.
Story-related, pops automatically during chapter 5.
That Settles It...
Finish the second act of the game.
Story-related, pops automatically after the conclusion of chapter 5.
Step 3 - Act 3 & Cleanup
Act 3 is the final and also the shortest one. It only has 3 short chapters.
Dough Collector
Accumulate 10,000 in-game cash.
This trophy should pop before you have collected 250 money crates. If not for
any reason, just keep opening more money crates. Those in the area of Act III give 30$ each.
Crate Expectations 4
Collect 250 money crates.
After reaching the area of Act III this should be no problem at all. There are
1.000 crates scattered around all 3 maps, which means we only need to find one fourth of them. If
you have trouble finding enough, I'd recommend to get the Mysterious Key. It reveals the location of
all hidden chests and money crates.
Auto Rescue
Recover your pickup in "Wheels of Retribution."
Act III - Chapter 2 - Mission 1. Story-related. Pops automatically during the
chapter.
Shadow Mechanic
Avoid detection by Gordon in "Wheels Of Retribution."
Act III - Chapter 2 - Mission 1. While recovering our truck from the junkyard,
we need to stay undetected. Gordon is driving circles on the junkyard in a big truck. It is not as
hard as it sounds, we can move from cover to cover everytime he gets past us. Just stay out of his
cone of light. Sometimes he turns around right behind you, so be aware of this.
Ragdoll Rodeo
Make Winston fall 50 times.
This can be done anywhere. If you didn't force this, you're likely still missing
it at this point. Good farming spots are locations with ladders to get to a higher ledge, like the
city hall in St. Monique City or the area of the Hitchhike encounter in The Steps. Just climb up the
ladder, jump back to the street, rinse and repeat.
Buccaneer Extraordinaire
Find 25 hidden chests.
This is another trophy I'd recommend the Mysterious Key for. It unveals every
hidden chests, making this trophy a walk in the park.
Big Shot
Spend 10,000 in-game cash.
Shops are marked with a brown suitcase and a dollar sign. You can buy whatever
you want, just make sure you have enough parts for all upgrades. To see how many you need, you can
take a look at your collected blueprints in the notebook. If you want to skip an encounter, you can
buy the blueprint you'd normally get for it as well.
Cartophile
Visit every exterior area of the game at least once.
The story leads you to every exterior area. Therefore this should pop near the
beginning of the final chapter.
Ultra Rapid Rally Driver
Activate the time control gadget for the first time.
This can be done at any time after you assembled Time Control and installed it
on the truck. To activate it, we need to press and hold

Barrel Bolter
Dodge all barrels in "Channel Your Anger."
Act III - Chapter 3 - Mission 1. Time Control is recommended for this. Early in
the mission we have to drive away from Gordon. Some barrels just stand around, but the more
dangerous ones roll towards us. You know that they are coming when you see flashing red lanes in
front of you. The lane where you need to be when they appear doesn't flash. Time Control can help
you to get there a little easier.
Gadget Gandhi
Build all gadgets for your pickup.
We need to build 6 gadgets that are not story-related. They are a reward for the different encounters
that are not marked as optional (see
Do-Good Delivery Driver). To assemble all of them you need
the following parts:
- Airbag: 1 Circuit Board, 4 Spare Parts, 6 Ropes
- Time Control: 1 Circuit Board, 1 Spare Part, 3 Batteries
- Jet Engine: 1 Circuit Board, 5 Batteries, 4 Tapes, 2 Ropes, 2 Spare Parts
- Hell Horn: 1 Circuit Board, 4 Tapes, 2 Spare Parts, 2 Ropes
- Wheel Spikes: 4 Spare Parts, 4 Tapes
- Automatic Doors: 1 Circuit Board
The Final Curtain Call
Finish the third act of the game.
Story-related. Pops automatically at the end of Act III.
No Stone Unturned
Collect all trophies.